In a sauté or
nonstick pan preheated over medium heat, add:
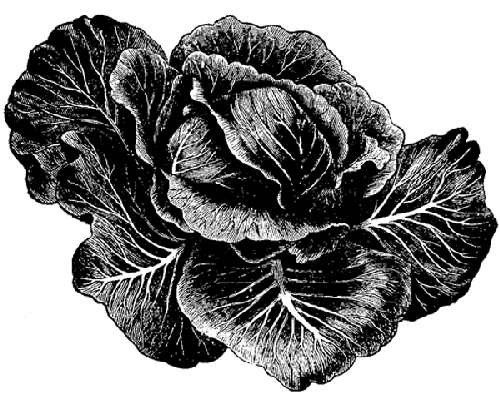
1 bunch Swiss chard, collard greens, or other hardy
leafy green vegetable; stems and thick veins removed, and sliced into 1″
strips
2 tablespoons (26g) olive oil (enough to coat the
pan)
Using tongs, quickly toss the greens to coat them with oil. Your pan should be
reasonably hot so that the greens quickly heat, but not so hot that the oil burns.
Continue tossing while cooking so that the greens wilt evenly. Add salt and pepper to
taste.
Notes
Depending upon your tastes, extend this by adding one of these
combinations:
- 5 cloves garlic, minced; juice from half a small lemon (about a
teaspoon)
- 2 teaspoons balsamic vinegar, and possibly a pinch of
sugar
- 1 teaspoon sherry vinegar, ¼ teaspoon crushed red pepper flakes, 1
can cannellini beans, 3 cloves garlic
- ¼ red onion, sliced thin and sautéed to cook; ½ apple sliced into
bite-sized pieces and cooked; handful of chopped walnuts,
toasted
The same technique can be applied to spinach (it’s great with sesame
seeds). Or try cooking some strips of bacon, removing the bacon, and then sautéing
the spinach in the rendered bacon fat, adding a teaspoon or so of balsamic
vinegar. Dice the bacon and combine the two, and optionally add some blue (or
other) cheese. Quantity of ingredients is really down to personal preference, so
experiment!
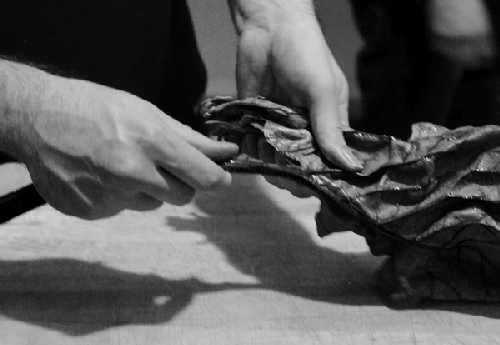
You can strip the stem and thicker veins from hardy greens such as
Swiss chard by grabbing the stalk with one hand and the green leaf portion with
the other hand, and pulling the stalk out.
Poached pears are easy, tasty, and
quick. And, at least compared to most desserts, they’re relatively healthy, or at
least until the vanilla ice cream and caramel sauce are added. Much of our enjoyment
of fruit comes from not just their flavor but also their texture. Consider an apple
that’s lacking in crispiness or a banana that’s been bruised and become mushy: without
their customary texture, their appeal is lost. But this isn’t always the case.
Poaching fruits such as pears causes similar changes in the structure of the fruit’s
flesh, breaking down cell walls and affecting the bonds between neighboring cells to
create a softer texture that’s infused with the flavor of the poaching
liquid. 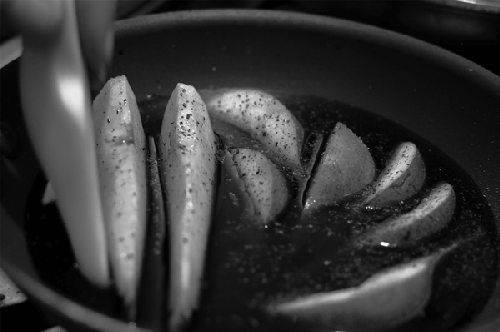
In a shallow saucepan or frying pan, place: 2 medium (350g) pears, sliced lengthwise
(longitudinally) into eighths or twelfths, and core removed 1 cup (240ml) red wine ¼ teaspoon ground pepper
Set the pan over low to medium heat, bringing the wine to a simmer and then poaching
the pears for 5 to 10 minutes, until soft. Flip them halfway through, so that both sides
of the slices spend some time facedown in the liquid. Remove the pears and discard the
liquid. (You can also reduce the liquid down into a syrup.) Notes Fun chemistry fact: the boiling point of wine is lower than that of
water. The exact temperature depends upon the sugar and alcohol levels, and as the
wine simmers, the ratios shift. It’ll start somewhere around 194°F / 90°C. It’s
doubtful that this will actually help you avoid overcooking the pears,
though. Pears are one of those fruits that are underripe until you look away
and then go rotten before you can look back. To encourage them to ripen, you can
keep underripe pears in a paper bag so the plant tissue will be exposed to the
ethylene gas they give off. I find I can get away with poaching pears that are a
little more underripe than I might want to eat fresh, but your pears should be at
least a little soft. Try serving this with caramel sauce (see Caramel Sauce) and vanilla ice cream. Or try poaching other fruits, like fresh figs, and
using other liquids. Figs poached in port or a honey/water syrup with a small
amount of lemon juice and lemon zest added after poaching are sweet and
tasty. You don’t need to actually measure out the ingredients. As long as the
pears have enough liquid to poach in, they’ll turn out great. Add freshly ground
pepper to suit your tastes.
Note: Don’t use preground pepper. Preground pepper quickly loses its complex aromatic
flavors—well before it makes it into your hands—leaving it with just a hot spicy kick
but none of the subtlety of peppercorns.
|
Grilling is as American as
apple pie, which is to say that while it’s part of our culture, its roots can be
traced back to somewhere on the other side of the Atlantic Ocean. Grilling became an
American tradition after World War II, when one of the owners of Weber Brothers Metal
Works came up with the Weber Grill and ignited a backyard pastime. What
self-respecting geek wouldn’t have a good time playing with fire?
Whether a propane or charcoal grill is “better” depends on your usage.
Propane grills are easier to fire up if you just want to cook a quick burger or roast
a few veggies. Charcoal grills, on the other hand, take a bit more work to get going
but create a hotter cooking environment that can lead to better flavor development
(more Maillard reactions). Regardless of what you go for, grilling is a great way to
cook relatively thin items such as skirt steaks, burgers, or sliced vegetables. You
can also slow-cook larger items on a grill—I’ve enjoyed a few summertime afternoons
drinking with friends while waiting for an entire hog to cook.
The second major difference between propane and charcoal grills is
temperature. While propane itself burns at somewhere around 3100°F / 1700°C, by the
time the heat dissipates around the grill, it cools down to about 650°F / 340°C. Using
a generous but reasonable amount of wood or charcoal generates a heat source with a
much higher amount of thermal radiation. When I’ve metered wood and charcoal grills,
I’ve gotten temperatures around 850°F / 450°C.
Grilled Summer Vegetables
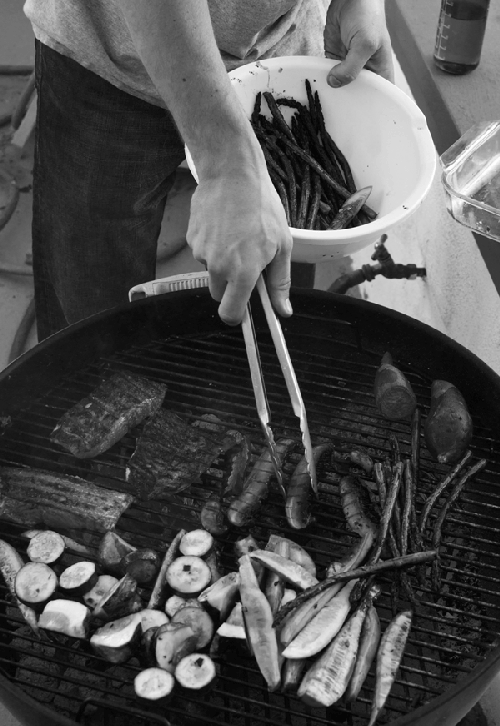
Grilled veggies are a fantastic treat, and easy, too. While someone might yet find a
way to make cucumber/lettuce kabobs work, it’s easier to stick with the classics: choose
sturdy vegetables low in water content (e.g., asparagus, squash, bell peppers,
onions).
Slice your vegetables into large pieces and toss them into a bowl with a small
quantity of olive oil and a few pinches of salt. You can get fancy with marinades and
sauces, but if you’re working with great produce, it seems like a shame to mask the
flavor.
I generally grill my burgers or whatever meat I’m cooking first, and grill the
vegetables while the meat rests. Grill the veggies for a few minutes, flipping halfway
through.
Grilled Sweet Potato “Fries”
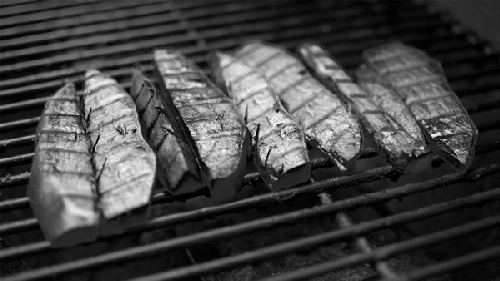
Slice a sweet potato into wedges. (Can’t find sweet potatoes? Look for yams.
Americans use the word yam when they really mean Ipomoea
batatas.)
Coat the outside with olive oil and sprinkle with coarse sea salt. Place on the
grill for 10 minutes, flip, and grill until tender, about another 10 minutes. Serve
while hot.
Instead of the olive oil/salt coating, you can make a sweet coating by brushing the
wedges with a mixture of roughly equal parts of butter and honey melted together. Or try
sprinkling red pepper flakes on the cooked wedges for a spicy version.